
 Sometimes people get a little confused looking for a way to edit an existing Event. We start in the upper right corner and select “Edit.” When you tap that button, you put the list in “Edit” mode; this is necessary to keep you from getting overwhelmed by trying to do too many things at once. Aside from the changes on the screen, the Edit button text has changed to read “Done.”
The Delete command is easy to see and figure out as it exposes a red button with a minus sign in it; this is a standard delete button and lots of iPhone apps work this way. What gets a little tricky is how the Event Title has gotten all scrunched up to make room for a new icon that is a small ‘i’ with a circle around it. Just like the bigger one at the bottom, it means “information” but in this case, there is one of these for every Event entry so each icon applies to the exact Event it is next to.
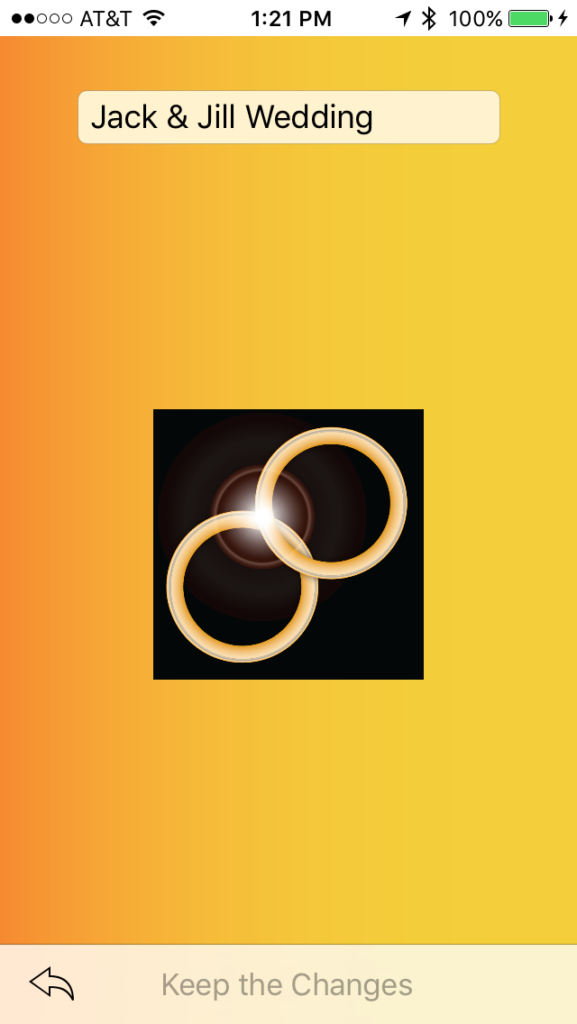
Tapping this icon will take you all the Detail view which shows you all the “information” you have stored in the Event. This consists of the title field and it’s identification badge. What you are looking at is the Event’s Detail view, where you can go back anytime and change the title and/or badge if you wish; don’t forget to tap “Keep the Changes” if you change anything.
Usually, the interface is very forgiving and other times, it requires more attention and precision; in this case there are a few things near each other that may do something you didn’t expect. Be careful when tapping these icons since touching the wrong one without realizing it can really surprise you; if that happens, don’t worry, you can just go back again. The icon on the right with the three horizontal lines will let you change the order of the list (this doesn’t do anything unless you drag your finger), however touching the badge or the title would take you to the Guest List for that event. This can be a bit jarring since it is usually unexpected when it happens; as before, you can simply return from wherever you end up and continue. No worries.