Exploring the Outdoors

Obviously, professionals might use specialized equipment but if you are an amateur Archaeologist, Botanist or even a Park Ranger, being able to quickly catalog things you see in the outdoors could be very useful. Note that some iPhones can now be used underwater, which might give you some excellent shots.

Some other potential uses might be camping and hiking; as long as you can still get a signal, your location capture should work. However, even if it doesn’t, you can turn on dictation for the free text field and describe where you are. Boat, bus, and wagon trips, etc. could be particularly nice as you spend time standing and/or sitting in one location while the vessel moves you around; it might be nice to be able to check those out later.

Travel

Whether you travel for vacation or on business, GWF can be a real help. First off, realize that you should “Gwiff” any place you go that you might want to get to quickly. Starting with the airport and anything you see along the way to the hotel, like museums, a library, police station, bus station, embassy and of course… your hotel.

Once you have those things, you can walk if it’s close or hop in a cab and say, “Take me here,” showing the driver the location and the map. That can help in situations where language might be an obstacle. And if you are not sure, what you just took a photo of, you can show the photo to someone at the hotel and they can help you fill in the blanks.

And don’t forget that local attractions near the hotel are also very useful: food markets & bistros, cafés and coffee shops, breakfast spots and restaurants come to mind as well as bars and clubs, if that’s your preference.

List Order

Tapping the red button in the lower right will put either list into “Edit” mode. This mode is available for both the Event and Guest lists and allows you to .

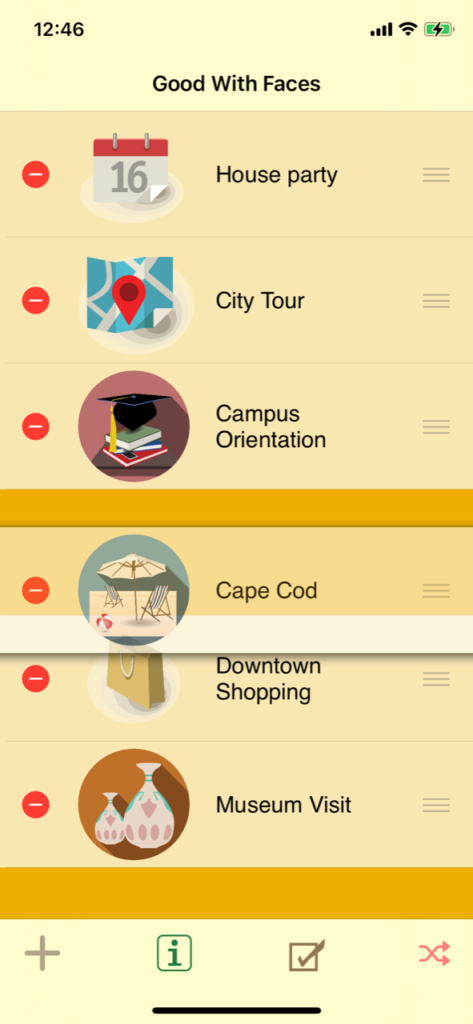
What may not be obvious is that you can change the order of the list by touching the icon on the right edge that looks like three horizontal lines; this is an order control icon and it does just what you might expect; you can drag it up and down. Just touch it and hold for just a moment and list row you touch will lift slightly; as you drag your finger up or down in the list, the entry will follow you and others will shift around to make room. And finally, it will stay wherever it is when you lift your finger!

Sometimes the interface is very forgiving and other times, it requires a certain amount of precision; in this case there are icons close to each other that trigger different behaviors. Care should be taken to only touch the icon you want as others can cause unexpected behavior; for example, the adjacent icon will take you to the Edit screen and the Title or the Badge will simply navigate to the Guest list and take you out of Edit mode.

Edit an Event

eventEditSometimes people get a little confused looking for a way to edit an existing Event. We start in the upper right corner and select “Edit.” When you tap that button, you put the list in “Edit” mode; this is necessary to keep you from getting overwhelmed by trying to do too many things at once. Aside from the changes on the screen, the Edit button text has changed to read “Done.”

The Delete command is easy to see and figure out as it exposes a red button with a minus sign in it; this is a standard delete button and lots of iPhone apps work this way. What gets a little tricky is how the Event Title has gotten all scrunched up to make room for a new icon that is a small ‘i’ with a circle around it. Just like the bigger one at the bottom, it means “information” but in this case, there is one of these for every Event entry so each icon applies to the exact Event it is next to.

IMG_0896


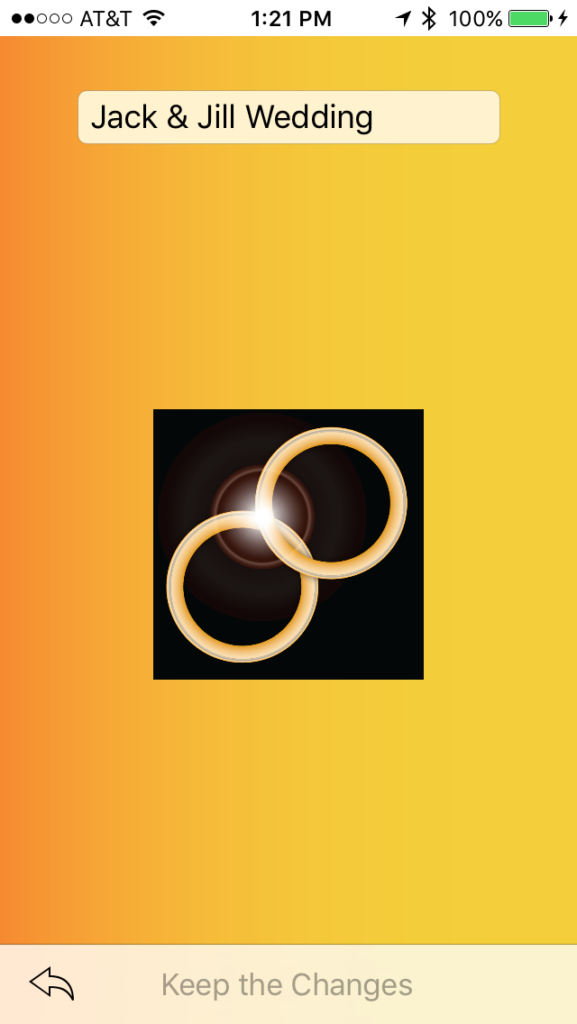
Tapping this icon will take you all the Detail view which shows you all  the “information” you have stored in the Event. This consists of the title field and it’s identification badge. What you are looking at is the Event’s Detail view, where you can go back anytime and change the title and/or badge if you wish; don’t forget to tap “Keep the Changes” if you change anything.


Usually, the interface is very forgiving and other times, it requires more attention and precision; in this case there are a few things near each other that may do something you didn’t expect. Be careful when tapping these icons since touching the wrong one without realizing it can really surprise you; if that happens, don’t worry, you can just go back again. The icon on the right with the three horizontal lines will let you change the order of the list (this doesn’t do anything unless you drag your finger), however touching the badge or the title would take you to the Guest List for that event. This can be a bit jarring since it is usually unexpected when it happens; as before, you can simply return from wherever you end up and continue. No worries.


Create A New …

toolbar1In Good With Faces™, you can create two things: Events and Guests. Creation of either happens in one of two places, on the Event List screen or the Guest List screen.

On either screen, you will see in the lower left corner of the toolbar (at the bottom), you will see a standard icon that is mostly used for Creation of things, hence the idea of putting pencil to paper. As previously mentioned, this icon can be found on the Event screen and on the Guest screen and touching it will create an entry in keeping with the screen you are on. So, if I am looking at the list of Events (even if the list is empty), this will create a new Entry and take me to the Event Detail view; we call it that because it is the same view you see when you are editing the information for an Event that already exists.

Help & Information

toolbar1The Help & Information pages are accessible from the top level of the app… the Event List view. Located in the center of the toolbar at the bottom, it looks like the letter ‘i’ inside of a boxed border.


IMG_0894


Once you’re there, you can scroll up and down as you normally would expect to and you can flip through the pages with a sideways touch gesture. It couldn’t be any easier.

Near the bottom of the first page, you can also see a Web address that entered in a browser brings you to this website you are already looking at. Note that, even though it’s a little small, you can touch the link directly on your device and it will launch a browser for you; note that even if you do that, you can easily get back to the app since there will be a way to return to the app in the upper left-hand corner of the browser that gets launched.


Rapid Photos

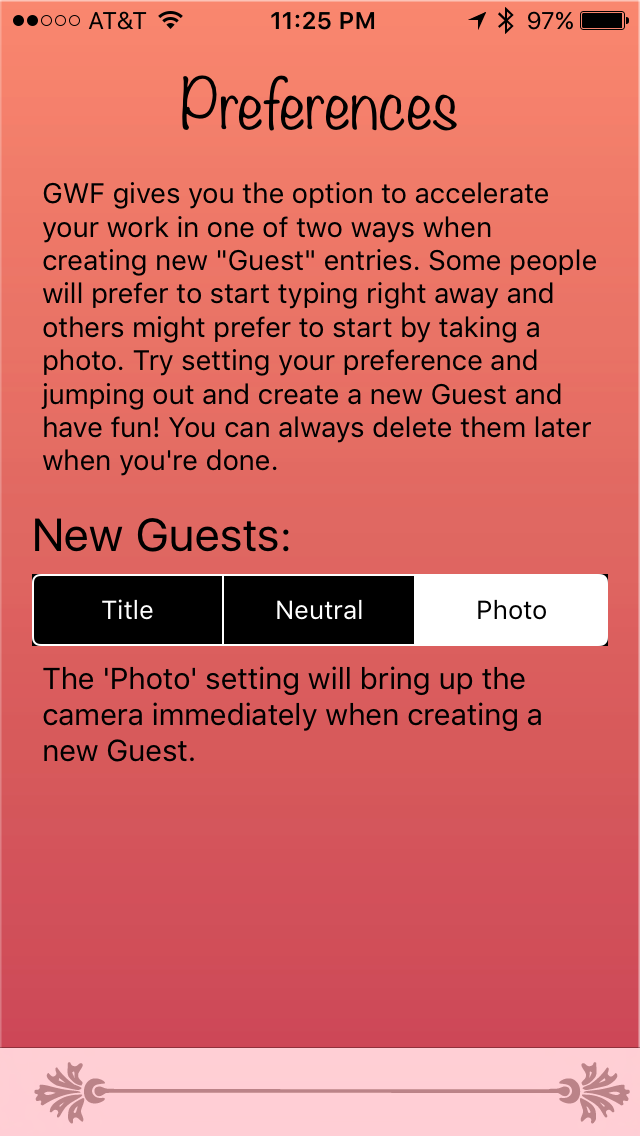
When you find yourself in a situation where you want to make a number of Guest entries quickly and you only care about the photo, to get things started; there’s a way to do that. The first thing you will want to do is set your configuration to prefer photos.

toolbar1

…this way, every time you create a new Guest, it will automatically call up the camera so you can take a picture, right away.

Many of you may know this much already but you might not have considered is that once you have taken the photo, you can simply hit the button to “Keep the Changes.”

IMG_0889

This is because, only Events require titles, Guests have no required text fields at all, so if all you want is a photo, a time stamp and the location, hit “Keep the Changes” and you’re done. Of course, you can always go back later and type something later; you might know what you want to type by looking at the photo.

Photographing Computer Screens

The technique for getting good results when using your phone to take a photo of a computer screen can be harder than you might think. Sure, it’s easy enough if you don’t care what it looks like, but if that photo is going to be used in GWF, it will be reduced and be shown in small sizes in a number of places. This can make it hard to recognize what you took a picture of if you are relying recognizing the photo later.

So, to begin with, the cameras in phones have a minimum distance they have to be from something before they can focus and without that, it’s just fuzzy. If you are simply too close to the screen (or anything else for that fourInchesmatter), you will simply get a blurry, out of focus, image like this. Notice that besides being blurry, the color is not good.


at5Inches


Here, you can see in a shot of the website banner that we are still too close at around four inches. Being so close to the screen creates unsightly blemishes and patterns in the image; at least the color is a better.


notBadAt8Inches


Next, we back out to around 8 inches and used the phone’s zoom to make the image fill the frame better. The blemishes are there but the unsightly patterns are mostly gone leaving regular pattern that is somewhat easier to look at because it distracts a bit less from the image.


bestAt12Inches


And finally, the best result came at around 12 inches, combined with the zoom on the camera; these two features combine to let the individual pixels on the screen to blend in a pleasing way giving you a surprisingly good image. If this was a photo of a person, you might never know it was taken by shooting a computer screen.


It’s also worth mentioning that after you shoot the photo, you can zoom in and move it a bit to position it better in the frame. In the last shot, I did a bit of that as well to get a decent framing of the image.


Tips & Tricks

The streamlining features of GWF are thought through very carefully to give you the maximum benefit from a minimum of features. This philosophy makes it possible to hold the line on the explosion of complexity that often accompanies the simplest bits of software.

Here, we will share some techniques that are not necessarily a different usage of the app but to help you get a better quality experience out of Good With Faces. This includes photography tips and potentially other things as well.

Weddings

Okay, so you have to go to this wedding because you are the “plus one.” So rather than simply write it off as a half a day loss that you’ll never get back, you can improve your situation and earn some relationship “bank” in the process by deciding to engage.

This is just the kind of thing that the “Good With Faces” app is designed for! You can do some searches online and with a little help from your significant other, build a quick set of notes on the entire wedding party. We have created a mock-up for you to see, here:

IMG_0903


Then you take GWF with you to the affair and you will be able to recognize the Mother of the Bride on sight and know
her name is Julie Sherman and her favorite color is blue; you will be able to glance at your phone and say to the Father of the Bride, “Hey Jim, Shana’s told me so much about you. I hear you love Gibson guitars.”


And… you’re off. Instead of a wasted day, you have a shot at having a good time, your love will appreciate that you did this for him/her and you might make some new friends. No one is going expect anyone to go through the rigor of memorizing an entire wedding party but with GWF, sometimes all it takes is just a little knowledge at just the right moment and things can change in big ways.


IMG_0902


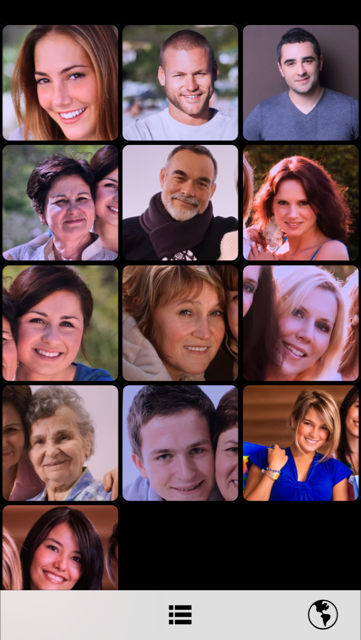
Also, to complement the Guest List view, we have the Grid view designed to let you see more photos at once for those times when you will be able to recognize someone visually first. It’s a subtle thing but the photos are slightly separated from each other against a black backdrop to help the eye to focus on each image without getting overloaded. This can really speed things up when you are just scanning the crowd; you might see someone and wonder who they are.


IMG_0904

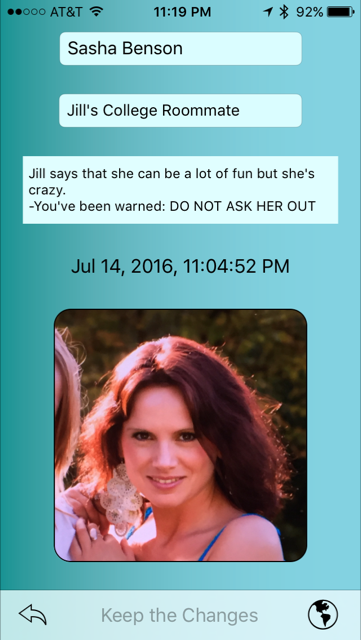
Grid view works just like List view in simply that touching an entry takes you to the Detail view. Now, you do not have to fill in every field, only what you decide you want.


However, in this example, we can see that sometimes it is not only good to know who someone is but to have a little sage advice can save you from a veritable host of problems.